I usually wash and dry all of my zippers before installing them. This keeps them from shrinking after they are installed. You can prepare them with steam and an iron too. For the invisible zipper, I also press the zipper crease open so that it moves through the invisible zipper foot easier.

I mark the seam line where the invisible zipper goes with water soluable marker.
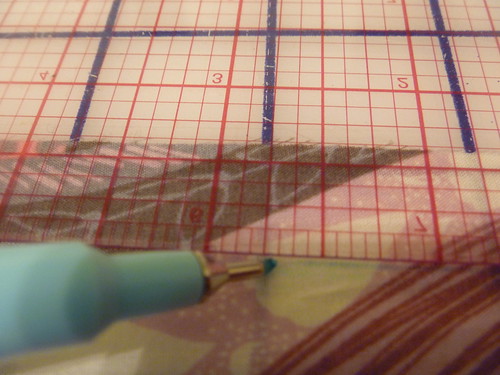
Then I pin the teeth of the zipper so that they are right on the seam line followed by basting.

The top of the zipper should go just below the waist band seam. Try to keep the zipper stop just below the seam line so that you don't break your needle. When you sew this on, carefully back-stitch within the seam allowance.
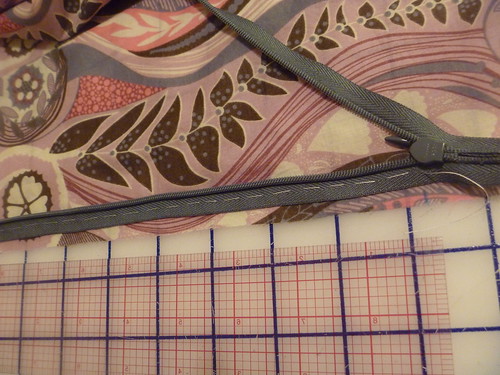
I mark on the zipper tape where I will back-stitch on both sides of the seam where the zipper will stop in the side seam. (Although this picture doesn't show the marking exactly, I will try to replace the picture next time I install an invisible zipper.) This needs to be located at a minimum where the zipper foot will not pass because of the zipper slide. Sometimes it is easier to just sew the first side and then mark the second side to match the first if you aren't too picky. Regardless, the end of the stitching should be at the same place on both sides of the zipper. If you want a shorter zipper, then mark where you want the zipper slide to end and back-stitch at that location. You can use heavy thread to tie off the zipper and cut it off below the back stitching after the zipper is installed.
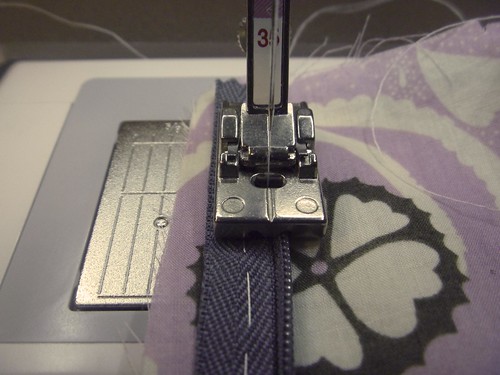
On the second side, I also mark the seam allowance and pin the teeth of the zipper right on the seam allowance. Baste. Check to make sure that when the zipper is closed the fabric pieces are at the same level. This may rerquire pulling the basting thread and re-pinning and basting. Check it a few times because re-basting is much easier than picking sewing machine stitching out of the crease of the zipper. When the top of fabric pieces are even with the zipper closed, go ahead and sew the zipper as the first side.
This is a picture of what the wrong side looks like.

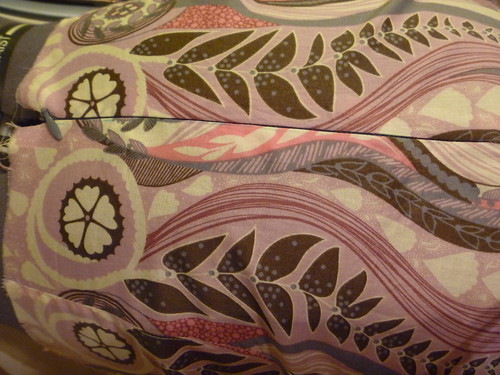
The next step is a little tricky. Put the right sides of the fabric pieces together and work the area of the seam and seam allowance in such a way that the raw edges come together and the zipper is out of the way. It takes a little fidgeting, but completely possible. Pin the side seams to make sure that the hem is even. To sew the seam below the zipper, sew in the direction from the zipper to the hem (away from the zipper). At times I can back into the end of the zipper stitching (sewing in the reverse direction)starting an inch below the zipper stitiching and sometimes it works just going forward and back-stitching at the beginning of the seam. Below is the finished zipper and side seam. A few hand stitches are sometimes required to close the gap between the back-stithing of the zipper and the backtitching of the side seam.
No comments:
Post a Comment