Here is where we are going:
1) To start with you will need to know how wide you want the cuff (distance around the wrist). How long the cuff should extend down the hand. How much space to leave for the thumb. In this example, I saved two inches for the thumb hole. The cuff should also be long enough to extend over the hand and attach to the end of the sleeve plus the hem. You can leave extra length and cut it off when you attach it to the sleeve.
2)The cuff will be made using two identical pieces. To get the size of each piece: Cross grain direction - take half of the circumference + seam allowances on both sides; Grain direction - twice the length from the finshed hem location of the sleeve to where you want the cuff to rest on your hand. Be prepared to do at least one practice cuff.
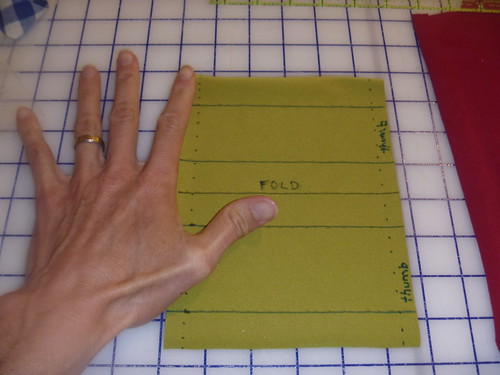
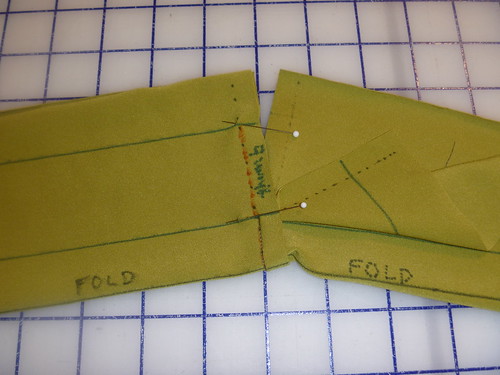
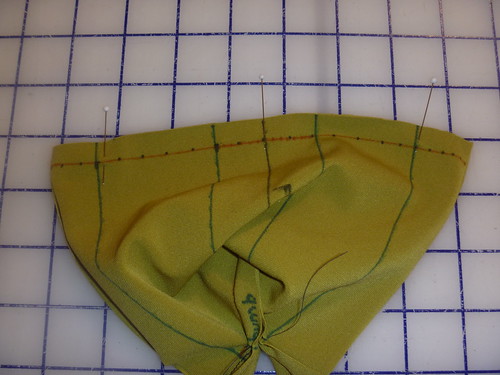
3) This one is shown where the thumb hole will be and the fold line marks the end of the cuff.
You may not want to mark it up as much as I have here, but good marking will help a lot.
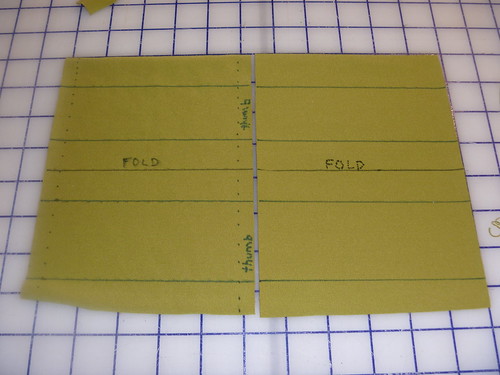
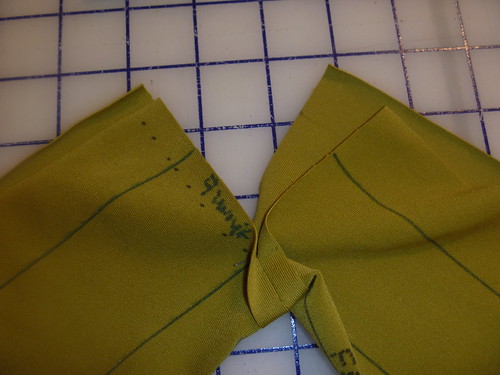
4) With right sides of the two halves together, on one side, sew the center of the cuff together between thumb holes.

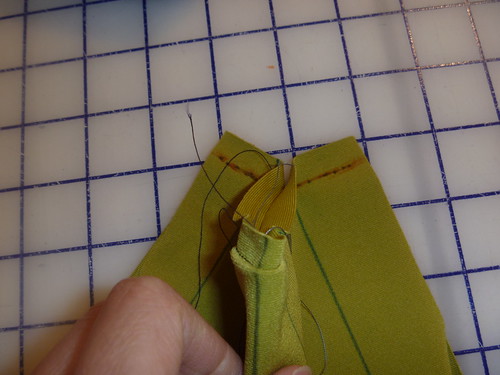
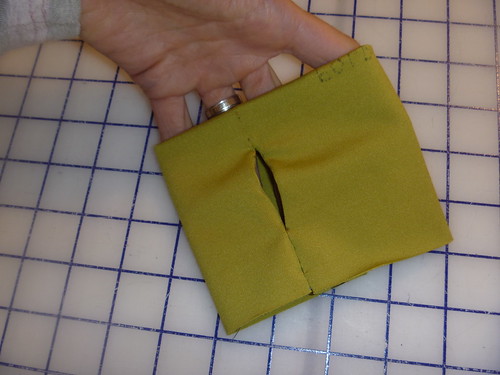
6) Turn the cuff right side out through the tunnel between the fold and the thumb seams.

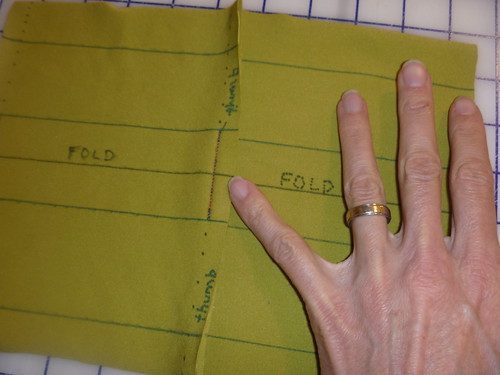
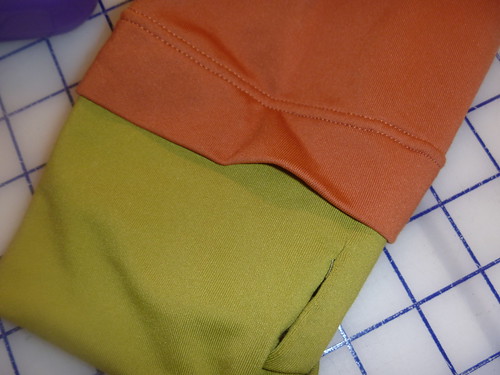
7) With right sides together sew from the end of the thumb hole (which isn't a hole right now) to the end of the cuff on both halves. Shown in orange.
8) Yeah! Hopefully it worked!
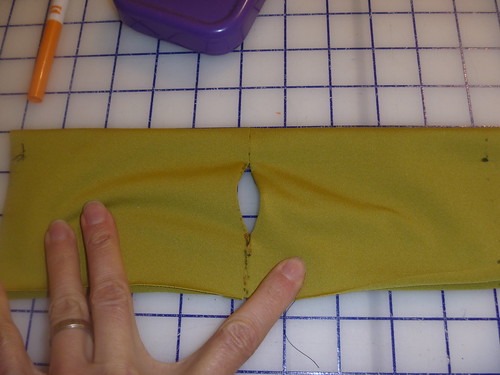
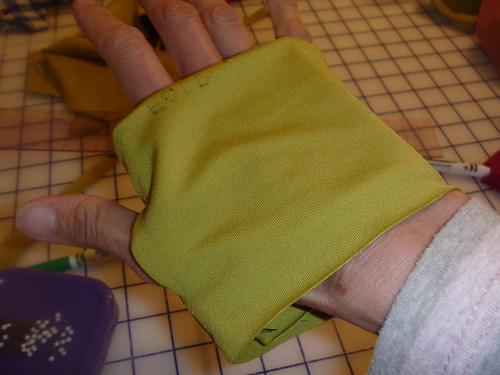
9) With right sides together, sew the other side of the cuff the whole way. The fold will need to be unfolded. Marked in orange.
10) Turn the right side out again and hopefully, you have something that looks like this (and probably neater).
11) Attaching the cuff to the sleeve is kind of interesting. I machine basted the location of the hem fold on the sleeve. Sew the cuff to the sleeve so that it lies flat when the hem is folded up. I would recommend basting this so that you can make sure that the thumb hole is aligned properly. Fold the hem up and use a cover stitch or double needle to sew the cuff and hem in place. I think I turned the whole sleeve inside out so that I was stitching inside the sleeve on the right side of the fabric. It was like sewing inside of a tunnel, but I took my time and it came out ok.
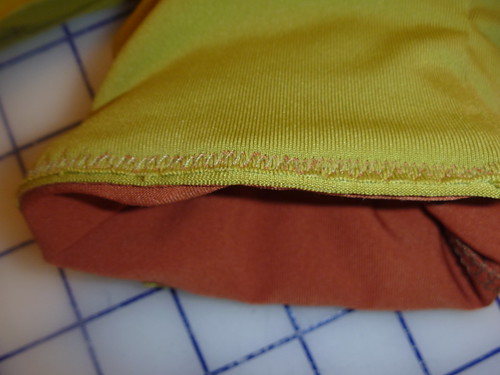
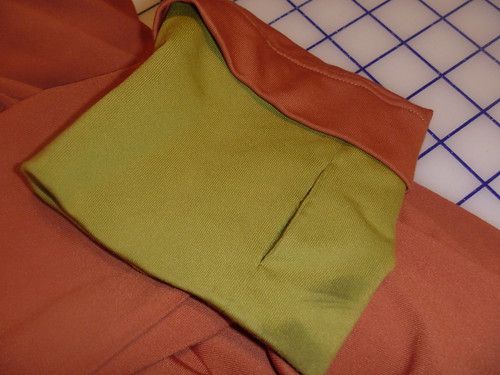
You can see two sets of stitiching here. One is attaching the cuff to the end of the sleeve and the other is the double needle stitching from the right side.
Here is the finished cuff.
Sweet!
ReplyDeleteGreat job on the tutorial! Thanks for sharing!
ReplyDeleteMoni,
ReplyDeleteWould you do a post on your tracing and cutting technique? Including finding the true grain, what instruments you use and why. Actually that might be several posts.
1. Tracing crazy multi lined patterns like Ottobre & Japanese patterns, how you include seam allowance etc. (procedure, materials, instruments)
2. How you prepare and cut from the patterns.
3. Finding true grain direction, why it is important, when it is not
4. Your peg board of instruments what is on it, what you use each instrument for etc.
5. How you keep your patterns/records etc.
Laugh if you want to. I just had to use my own tutorial. It is much easier than having to re-figure it out again!
ReplyDelete